In the previous tutorial, we created our first route and view in a Laravel application. In this tutorial, we will learn how to create layout files using Blade components in Laravel. Blade is the templating engine that comes with Laravel, and it allows us to create reusable components and layouts for our views.
Before getting started, let’s make another route /contact in the web.php file and rename the welcome view to home. The updated web.php file should look like this:
<?php

use Illuminate\Support\Facades\Route;

Route::get('/', function () {
    return view('home');
});

Route::get('/about', function () {
    return view('about');
});

Route::get('/contact', function () {
    return view('contact');
});
Let’s copy the content of the about.blade.php file into the home.blade.php. Yes, there is a duplicate content now, but we will fix that in a moment. Change the <title> tag and the <h1> tag accordingly in the home.blade.php file. Create another file named contact.blade.php in the resources/views folder and copy the same content into it. Change the <title> tag and the <h1> tag accordingly in the contact.blade.php file.
Now we have three routes and three views rendering some content. Since we have to type the URL manually to visit each page, it would be better if we had a navigation menu to navigate between these pages. Let’s create a simple navigation area. Open the home.blade.php file and add the following code inside the <body> tag, above the <h1> tag:
<!doctype html>
<html lang="en">
<head>
    <meta charset="UTF-8">
    <meta name="viewport"
          content="width=device-width, user-scalable=no, initial-scale=1.0, maximum-scale=1.0, minimum-scale=1.0">
    <meta http-equiv="X-UA-Compatible" content="ie=edge">
    <title>Home Page</title>
</head>
<body>

<nav>
    <a href="/">Home</a>
    <a href="/about">About</a>
    <a href="/contact">Contact</a>
</nav>

<h1>Hello from the Home Page</h1>
</body>
</html>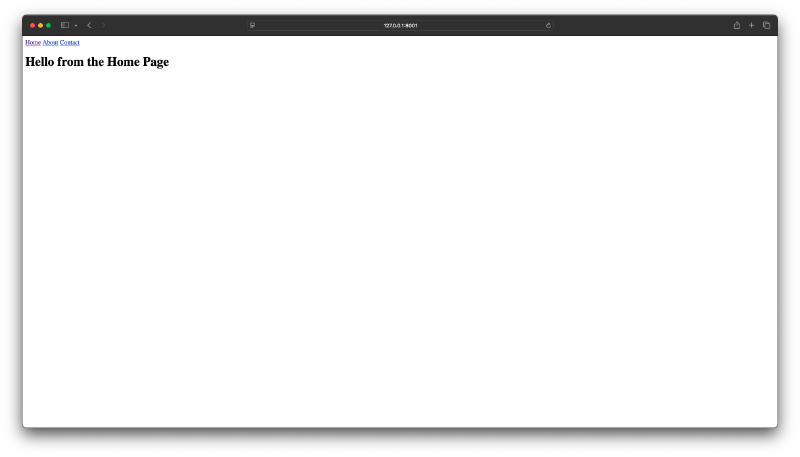
As you can see, if we navigate to any other page, the navigation menu is missing. We have to duplicate the same navigation code in each view file. This is not efficient and can lead to maintenance issues. If you can remember, the “about” and “contact” pages still have the .php extension. Let’s rename them to about.blade.php and contact.blade.php respectively. Blade is Laravel’s templating engine, and it uses the .blade.php extension for its view files. It’s small layer top of PHP that provides some convenient features for building views.
Let’s create a new directory named components inside the resources/views folder. Inside the components folder, create a new file named layout.blade.php. When we create a layout file using this name inside the components folder, it will signal to Laravel that this should be treated as a Blade component.
Then we can copy the common HTML structure from one of our view files (for example, home.blade.php) into the layout.blade.php file. Then I’ll go back to my home view and delete the content entirely. Then inside the empty home.blade.php file, we use <x-layout> to include the layout component we just created. This tag will automatically look for the layout.blade.php file inside the components folder. The updated home.blade.php file should look like this:
<x-layout>

</x-layout>
If you refresh the home page in the browser, you will see that the page loads without any issue. Then we can move back to the layout.blade.php file and get rid of the <h1> tag since that is specific to each view. We can use the special Blade directive {{ $slot }} to indicate where the content of each view should be injected into the layout. The updated layout.blade.php file should look like this:
<!doctype html>
<html lang="en">
<head>
    <meta charset="UTF-8">
    <meta name="viewport"
          content="width=device-width, user-scalable=no, initial-scale=1.0, maximum-scale=1.0, minimum-scale=1.0">
    <meta http-equiv="X-UA-Compatible" content="ie=edge">
    <title>Home Page</title>
</head>
<body>

<nav>
    <a href="/">Home</a>
    <a href="/about">About</a>
    <a href="/contact">Contact</a>
</nav>

{{ $slot }}
</body>
</html>
Now we can go back to the home.blade.php file and add the specific content for the home page inside the <x-layout> tags. The updated home.blade.php file should look like this:
<x-layout>
    <h1>Hello from the Home Page</h1>
</x-layout>
We can do the same for the about.blade.php and contact.blade.php files. The updated about.blade.php and contact.blade.php files should look like this:
<x-layout>
    <h1>Hello from the About Page</h1>
</x-layout><x-layout>
<h1>Hello from the Contact Page</h1>
</x-layout>Now if you visit each page in your web browser, you should see the navigation menu on all pages, and the specific content for each page should be displayed correctly. If I want to change the navigation menu in the future, I only have to update it in one place, the layout.blade.php file, rather than in each individual view file.
Now let’s extract the navigation links into their own Blade component. Inside the components folder, create a new file named nav-link.blade.php. Then we can move a single navigation link into this new component file. The nav-link.blade.php file should look like this:
<a href="{{ $href }}">{{ $slot }}</a>There is a slight change here. We are using the $href variable to set the href attribute of the anchor tag. This variable will be passed to the component when we use it in our layout file. Now we can go back to the layout.blade.php file and replace each navigation link with the nav-link component. The updated nav section in the layout.blade.php file should look like this:
<nav>
    <x-nav-link href="/">Home</x-nav-link>
    <x-nav-link href="/about">About</x-nav-link>
    <x-nav-link href="/contact">Contact</x-nav-link>
</nav>
Notice how you can pass data to Blade components using attributes. In this case, we are passing the href attribute to the nav-link component. This makes the component more reusable, as we can easily change the link destination without modifying the component’s internal structure.
In the next tutorial, we will use Tailwind CSS to style our Laravel application and make it look more appealing. See you there!