In the previous tutorial, we explained how to install PHP and other necessary tools to get started with Laravel, then we installed Laravel itself. In this tutorial, we will create our first route and view in a Laravel application. Before we begin to code, I need to mention that yes, you can consume these tutorials however you like, but if you want to get the best out of them, I recommend coding along with me.
First open the project folder using the code editor or IDE of your liking. I will be using PhpStorm, but you can use Visual Studio Code or any other editor you prefer.

On the first glance, the Laravel folder structure may seem overwhelming, but don’t worry. We don’t have to know everything about it right now. For this tutorial, we will only focus on a few files and folders.
To proceed, we need to start the Laravel development server. Open your terminal, navigate to your project folder, and run the following command:
php artisan serveYou may wonder what artisan is. Artisan is the command-line interface included with Laravel. We will be using it frequently throughout and discussing its features in more detail later.
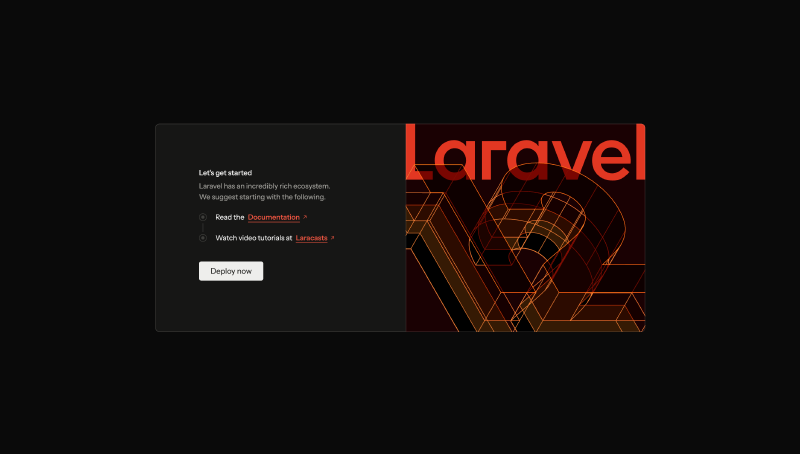
After running the command, you can open your web browser and go to the route mentioned in the terminal. Then you can see the default Laravel welcome page.
Let’s tweak this page a bit. First, we need to check where the routes are defined. In Laravel, routes are defined in the routes folder. Open the web.php file located in the routes folder. You can write very clear code using Laravel’s expressive syntax. You can see a good example of that in the default route defined in the web.php file:
Route::get('/', function () {
    return view('welcome');
});
Even if you are not familiar with PHP, you can easily parse this code. It defines a route that listens for GET requests to the root (Home page) URL (/). When a request is made to this URL, it executes the provided closure function, which returns the welcome view.
The next question is, where is this welcome view located? In Laravel, views are stored in the resources/views folder. Open the welcome.blade.php file located in the resources/views folder. Notice that it’s not welcome.php but welcome.blade.php. The .blade.php extension indicates that this file is a Blade template. It is the templating engine of Laravel. Blade templating engine helps you to add some more features on top of plain PHP files.
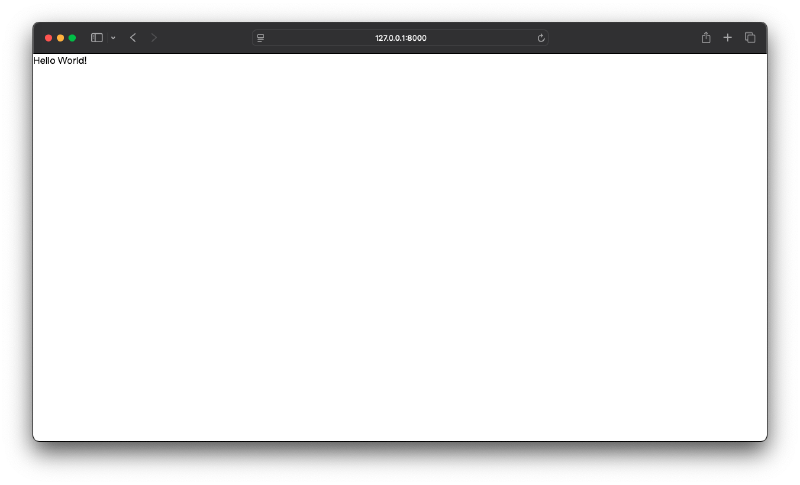
Open the welcome.blade.php file, and you can see it has a lot of HTML code, with some Blade syntax sprinkled in. You can remove the content inside the <body> tag and replace it with whatever you want. For this tutorial, let’s add a <h1> Hello, Laravel!</h1> tag.
Let’s think about what we did here. We can visit the route file, you can declare a route, and that route can return what we call as a view. The real scenario is little bit more complex than this, but for now, this is enough to get you started.
Let’s declare a new route. Open the web.php file again, and add the following code below the existing route:
Route::get('/about', function () {
    return 'About Page';
});
Notice that not only views can be returned from routes, but also plain text can be returned as well. If you visit /about in your web browser, you should see the text “About Page”.

You may wonder, why would we want to return plain text from a route? In real-world applications, we usually return views or JSON responses from routes. We can return an array of data and Laravel will automatically convert it to a JSON response. Let’s modify our /about route to return some JSON data instead:
Route::get('/about', function () {
    return ['name' => 'Laravel', 'version' => '12'];
});
We are getting ahead of ourselves a bit. We will cover JSON responses and APIs in another tutorial. For now, just know that Laravel makes it easy to return different types of responses from routes.
Let’s return to views. Instead of returning plain text or JSON from our routes, we usually want to return views. Let’s create a new view for our /about route. Open the resources/views folder and create a new file named about.php. Let’s forget about Blade for now and just create a plain PHP file. Add the following code to the about.php file:
<!doctype html>
<html lang="en">
<head>
<meta charset="UTF-8">
<meta name="viewport"
content="width=device-width, user-scalable=no, initial-scale=1.0, maximum-scale=1.0, minimum-scale=1.0">
<meta http-equiv="X-UA-Compatible" content="ie=edge">
<title>About Page</title>
</head>
<body>
<h1>Hello from the About Page</h1>
</body>
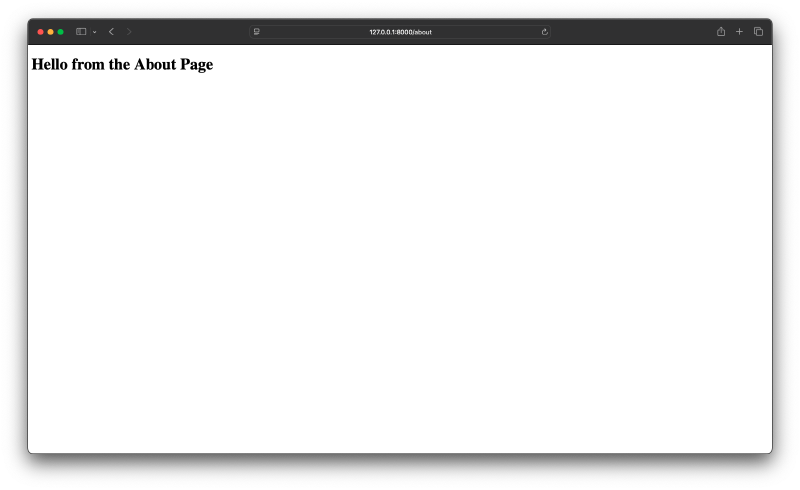
</html>Make sure to update the /about route in the web.php file as well:
Route::get('/about', function () {
    return view('about');
});
If you visit /about in your web browser now, you should see the content of the about.php view.
Okay, now we have a Laravel project that has two routes: the home page (/) that returns the welcome view, and the /about page that returns the about view. In the next tutorial, we will dive deeper into Blade templating engine and learn how to use layout files to avoid code duplication.